

|
 |
|
Here you can learn more about the techniques Christine uses to create her lighted village displays.
|
|
Rockwork
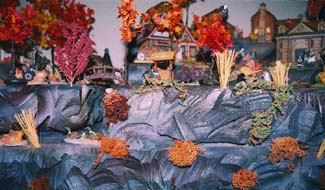
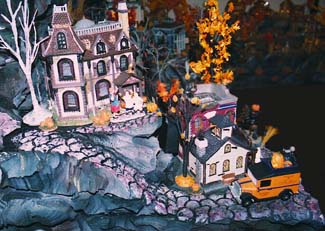
The village base is made from construction-grade polystyrene. By layering sheets of the styrofoam, hills and valleys can be created. This avoids the unrealistically flat terrain of many displays. Once the rough form of the village has been carved out with a saw, Christine uses a hot-wire cutter to sculpt the edges, producing either a rocky or brick surface. The interior of the base is carved in the same way. Once the carving is complete, she then paints it with an acrylic-base spray paint. |
 |
|
Water features
Parifin wax provides the illusion of water. A stream, pond, or shoreline is first cut into the foam with the hot-wire cutter. The bottom surface is then painted blue. Melted wax is then slowly poured into the area. The effect can be quite dynamic. Christine creates waterfalls by allowing the wax to drip and splash down. When cool and hardened, the effect is a rolling waterfall. Waves can also be created as the wax cools. |
 |
|
Streets Using a hot-wire probe, brick, cobblestone, and concrete streets can be cut into the styrofoam. Using acrylic paint and a sponge technique, one can repliate the look of brickwork. Creating carved streets and lanes allows one to make unique lanes and sidewalks that curve up and down through town. |
 |
|
Trees
Christine constructs her own trees from small dowels, floral tape, and miniature leaf garlands available at most craft stores. Although one can purchase ready made trees from many different manufacturers, creating your own trees allows for complete customization of the layout. Creating your own trees is a simple and enjoyable activity. |
 |